インタラクティブ・ブローカーズ証券(以下IB証券)のTrader Workstation (トレーダー・ワークステーショ)(以下TWS)のAPIを利用します。口座開設など、いくつかこの段階でハードルがありますが、本記事ではすでに口座開設が行われている前提での生地となります。
日系の証券会社を含めて、TWSはもっとも高機能なツールだと思います。とくに、API連携など、その拡張性など考えても、個人投資家にとっては、現在利用できるツールのうちの最高峰のものであると思っています。
現実的・具体的な利用方法として、本記事では過去データの取得にフォーカスして記述していきま、その設定に必要な手順や、備忘録として書いておきます。
準備・チェックポイント
3つの設定が必要となります。
1.手元PC(Windows10)でPythonが使えるようにする設定
2.TWSのAPI経由でIB証券サーバーに接続するための設定
3.PythonでIB証券に問い合わせを行うコーディング
の3点が重要になってきます。
Python3.9.2のダウンロードとインストール
3.9.2を選んだ理由は現在私が利用しているバージョンだからです。爆
コードを移植したときに問題なく動くようにするために、必要な労力を最小にしたかったからです。爆爆
ダウンロードリンク:

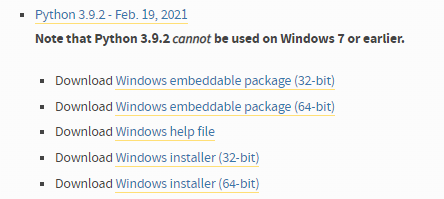
今回は一番下のWindows Installer (64-bit)を選択しました。
インストールファイルの実行:
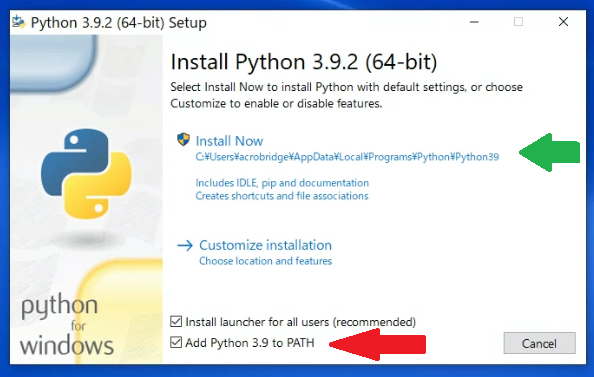
PATHは入れるように指定します。Install Nowで開始します。
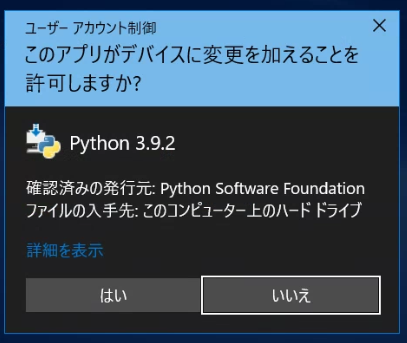
はい、で管理者権限で実行します。
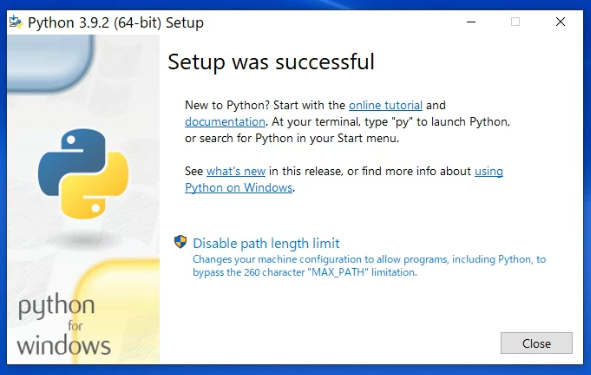
Disable path length limit などありますが、特に指定せずに Close をクリックしてインストール自体は終了。
Pythonのインストールされているか確認
実際にインストールされているかコマンドプロンプトを起動して確認します。
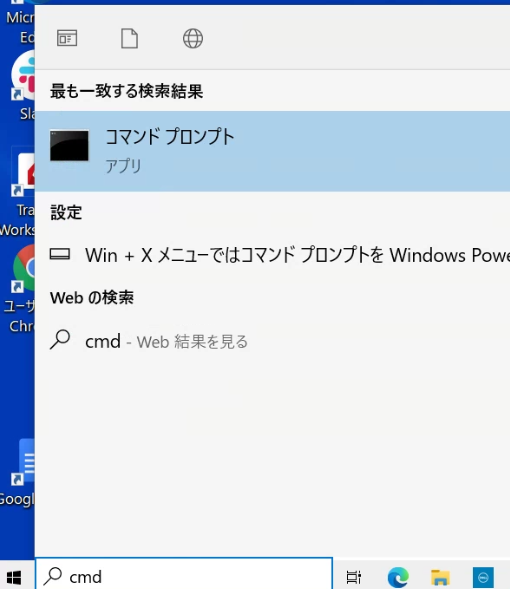
インストールされているか確認のコマンド
python --version
3.9.2がインストールされている様です。
Jupyter Notebookのインストール
事前にpipのアップグレードをしておきます。
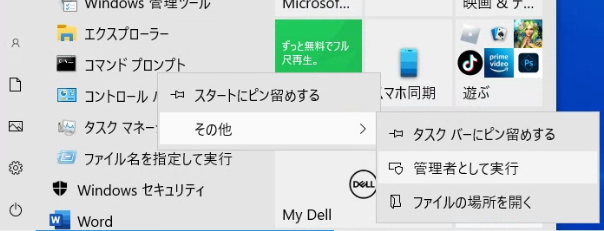
コマンドプロンプトを管理者として実行して以下のように実行します。
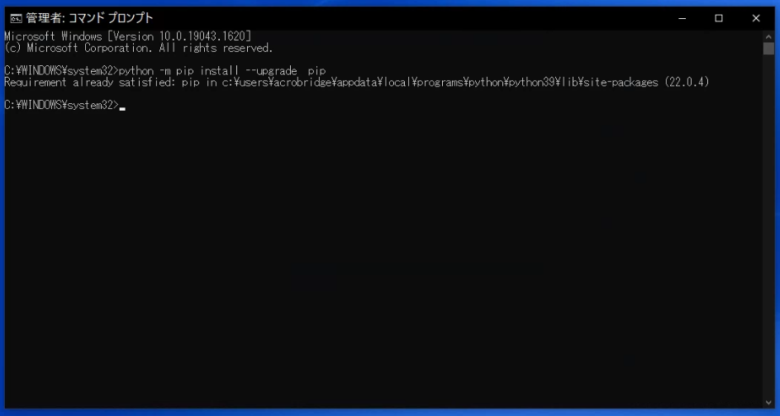
python -m pip install --upgrade pipJupyter notebookのインストール
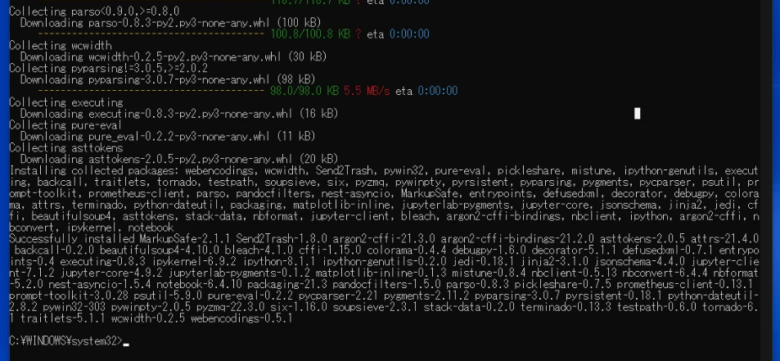
pip install notebook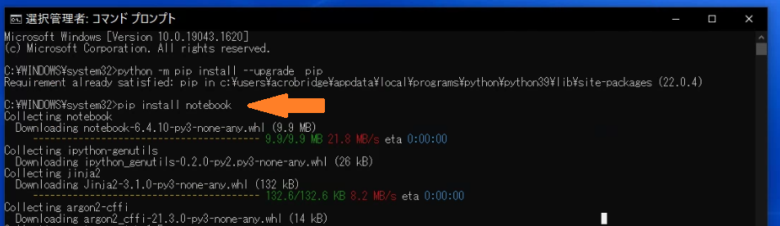
Jupyter Notebookの起動チェック
Jupyter Notebookはコマンドプロンプトから実行するのですが、実行したディレクト以下のファイルが参照されるので、まず先にディレクトリ構造を決めておきます。
今回の例ではGoogleドライブの直下にPythonというフォルダを作って、その中に起動コマンドや関連のpython関係のファイルを置いていくディレクトリ構造にします。
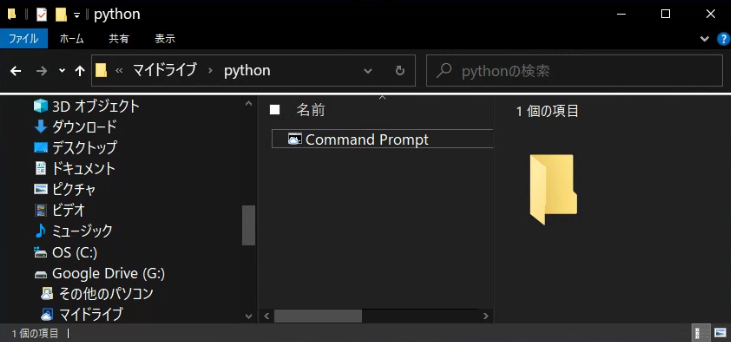
コマンドプロンプトのショートカットを
G:\マイドライブ\pythonフォルダの下にコピーしておきます。
このショートカットのプロパティを選び、作業フォルダーの情報を空欄にします。
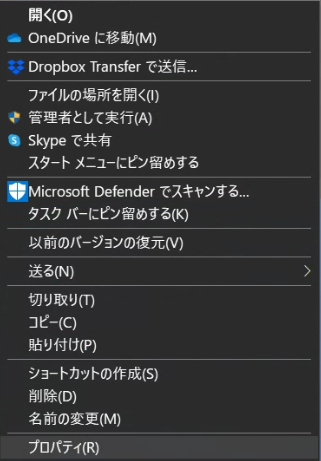
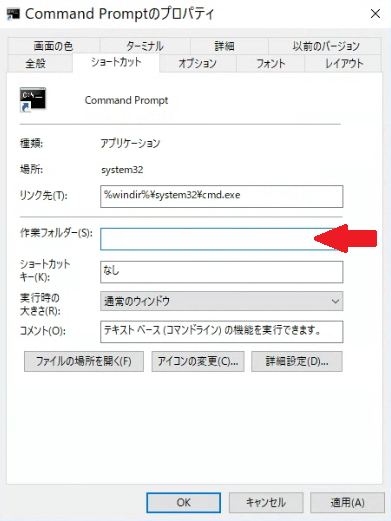
このようにすることで、次回このショートカットを実行すると現在のディレクトリで実行することができます。
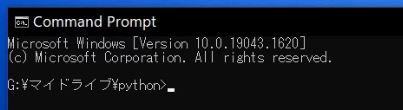
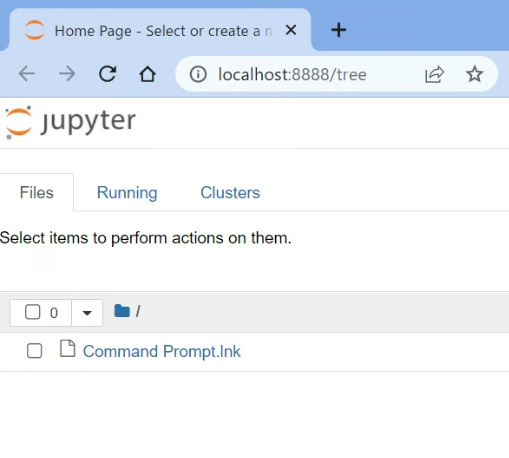
Jupyter Notebookの起動
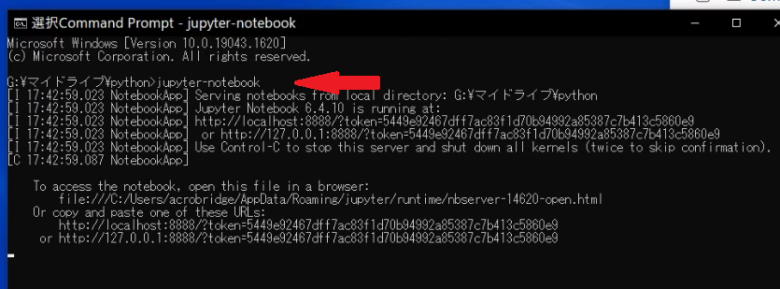
このコマンドプロンプトで
jupyter-notebookと打って起動するとChromeの新規タブでJupyterが起動します。
IB証券のTrader WorkstationでAPI接続を可能にする設定
データの取得はインタラクティブ・ブローカーズ証券(以下IB証券)のTrader Workstation (トレーダー・ワークステーショ)(以下TWS)のAPIを利用します。口座開設など、いくつかこの段階でハードルがありますが、本記事ではすでに口座開設が行われている前提で進めます。
IB証券からのAPI接続に関する情報は以下のようになります。

日系の証券会社を含めて、TWSはもっとも高機能なツールだと思っていますが、API連携など、その拡張性など考えても、個人投資家にとっては、現在利用できるツールのうちの最高峰のものであると思っています。
現実的・具体的な利用方法として、本記事では過去データの取得にフォーカスして記述していきます。
基本的にはTWSのダウンロード・インストール、API接続を可能にするように設定を行うことで可能です。
ソフトウェアーのダウンロードは以下のサイト

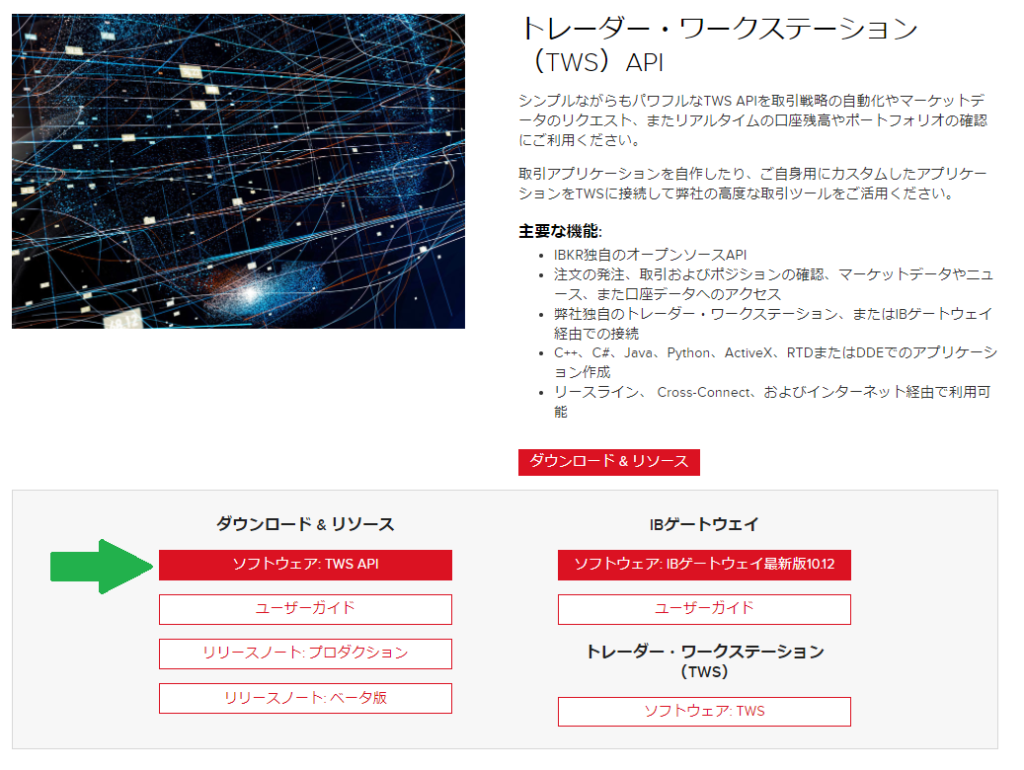
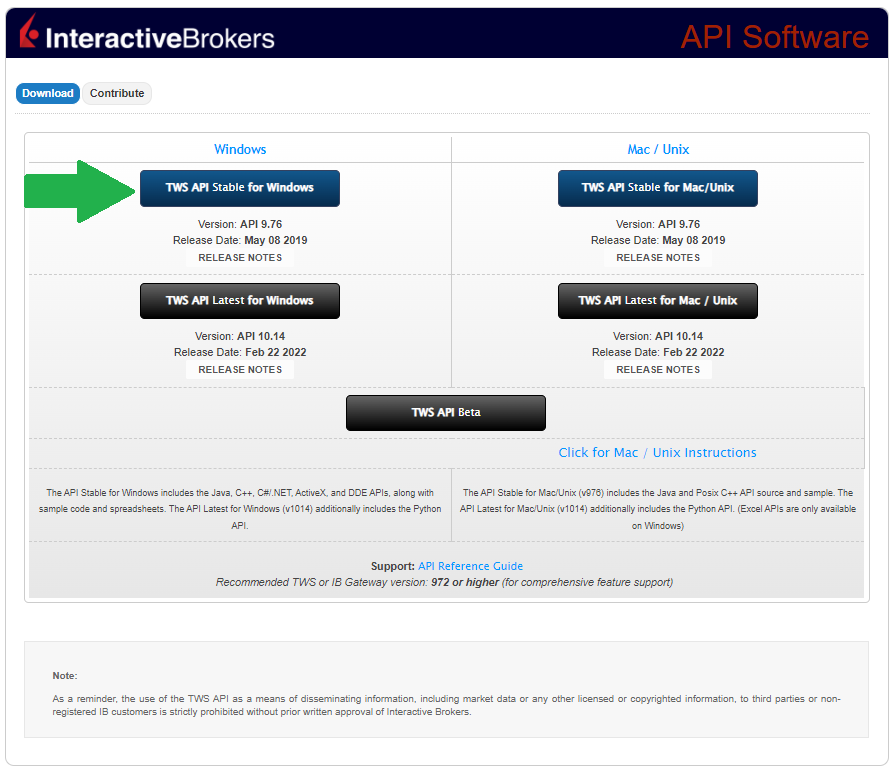
OSによってダウンロードするキットは変わりますが、上の例ではWindowsの安定版のダウンロードをするようになっています。
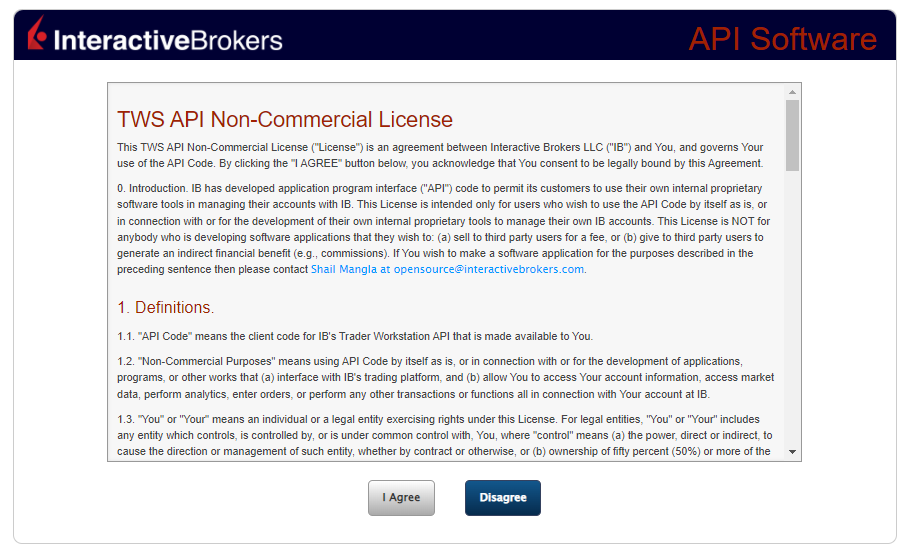
インストールは以下のような画面が出てきて、進めていきます。
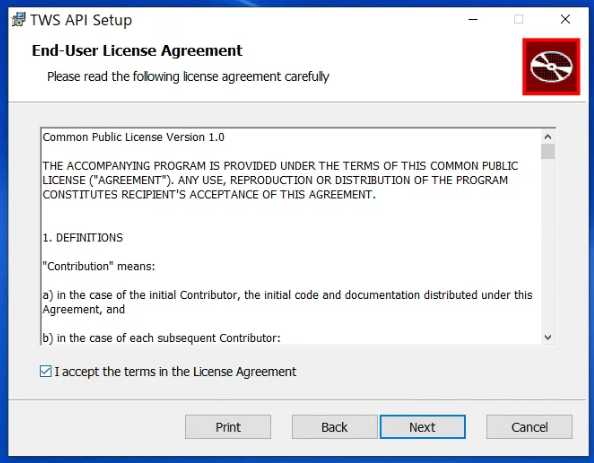
I accept the terms in the license Agreement にチェックを入れて進めていきます。
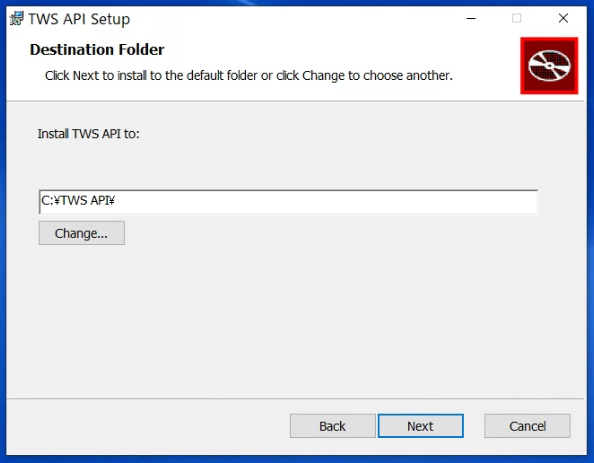
インストールディレクトリは変更せず進めていきます。
終了です。
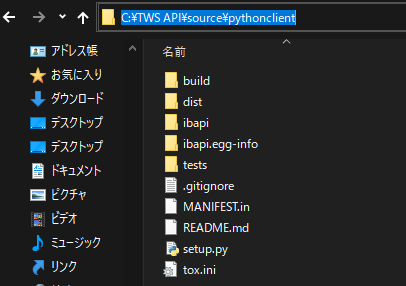
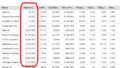
Windowsで問題なくインストールできていればディフォルトでは
C:\TWS API\source\pythonclient
のディレクトリに以下のようなファイル群がインストールされていると思います。
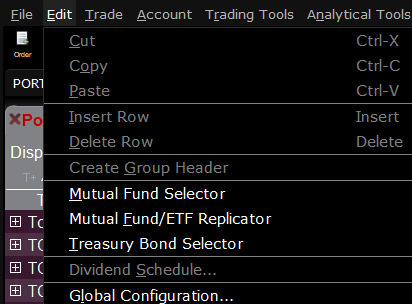
実際の設定はTWS側で行います。
TWSにログインしたののち、 Edit>Global Configurationもしくは歯車のボタンから設定していきます。
もしくは

TWSのAPI接続設定の入力値
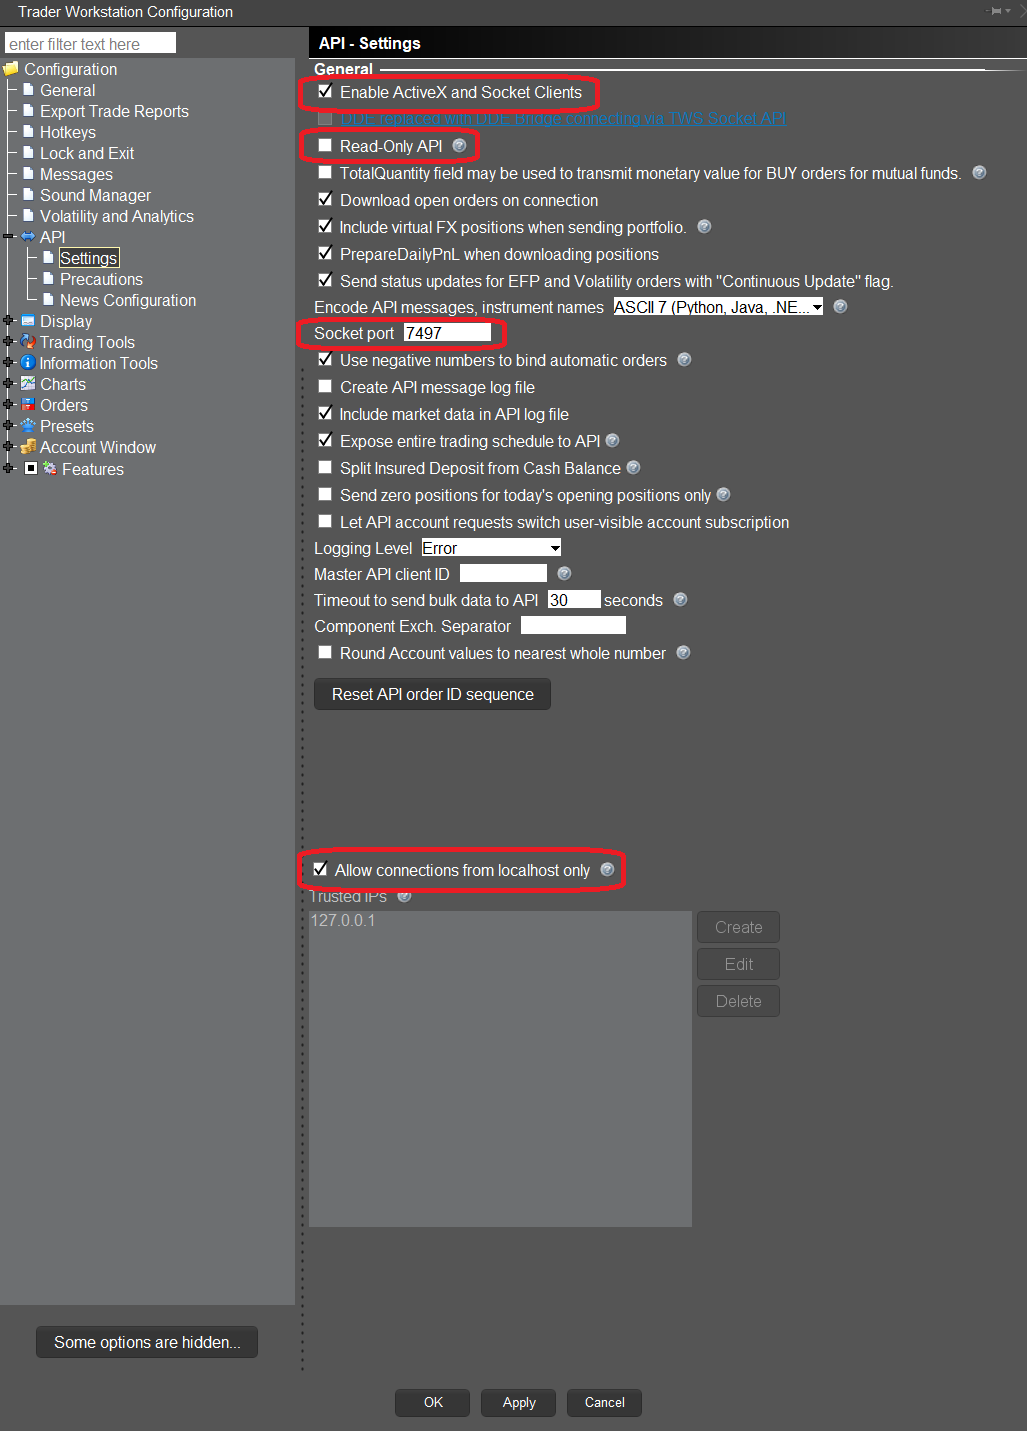
Trader Workstation Configurationウィンドウ内で、以下のような設定にすることで可能です。

Enable ActiveX and Socket Clients : API接続するには必要です。
Read-Only API : API経由で新規注文を送る場合は外す必要がありますが、読み込みのみという場合はONでも問題ありません。ただ、Pythonでコードを実行した場合にここのチェックがついてますよと、リマインドされます。
Socket port : 7497 を使っていますが、リアルタイムデータを使いたい場合などは7496を使うようにといわれています。ここの数字はPtyhonのコードと数字をあわせることで接続可能となります。
Allow connections from localhost only : 安全のためにつけておくのが良いと思います。
TWSサイドの設定は以上になります。
PythonでIB証券に問い合わせを行うコーディング
2023/02/16追記:いつくかのバージョンの不整合により正常に動かない場合があるようです。
以下のバージョンでは正常に動くことを確認していますので、そのバージョンを利用することを強くお勧めします。
ib_insync==0.9.70
pandas==1.3.1
追記終了
まずは必要なライブラリとして ib_insync というというものをインストールします。
pip install ib_insync==0.9.70
あと、必要に応じてpandasなど必要な他のモジュールもインストールしておくといいと思います。
pip install pandas==1.3.1
もしくは
pip install pandas==1.3.1 --user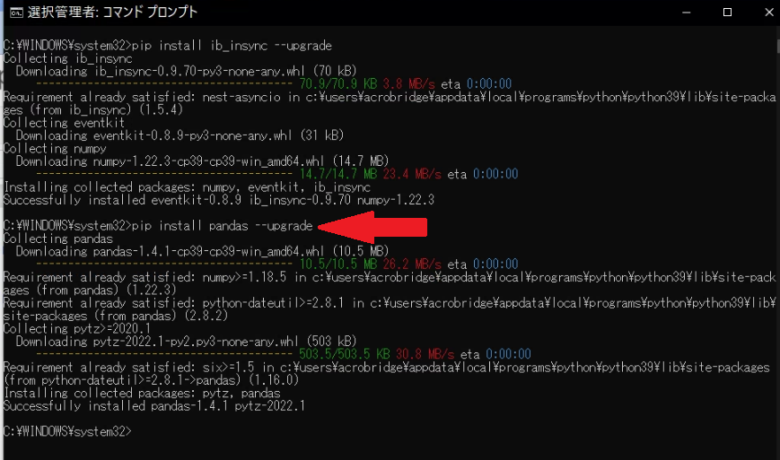
Jupyter Notebookでの動作確認
インストールできた場合はJupyter Notebookから動作確認をしていきます。
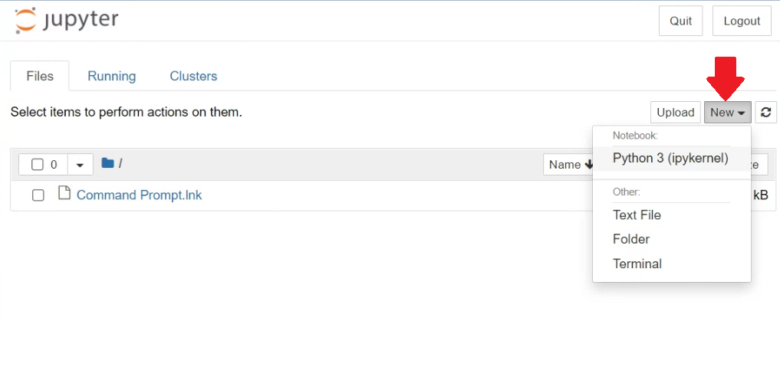
新規のPython3のファイルを作ります。
以下のコードを実行します。
from ib_insync import *
import random
import pandas as pd
util.startLoop()
ib = IB()
ib.connect('127.0.0.1', 7497, clientId=random.randint(0, 29))
contract = Forex('EURUSD')
bars = ib.reqHistoricalData(contract, endDateTime='', durationStr='30 D',
barSizeSetting='1 hour', whatToShow='MIDPOINT', useRTH=True)
df = util.df(bars)
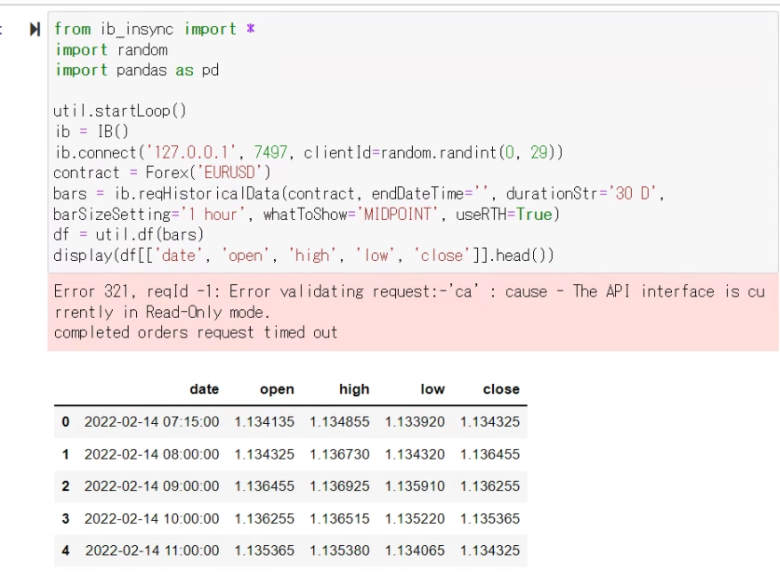
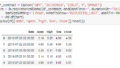
display(df[['date', 'open', 'high', 'low', 'close']].head())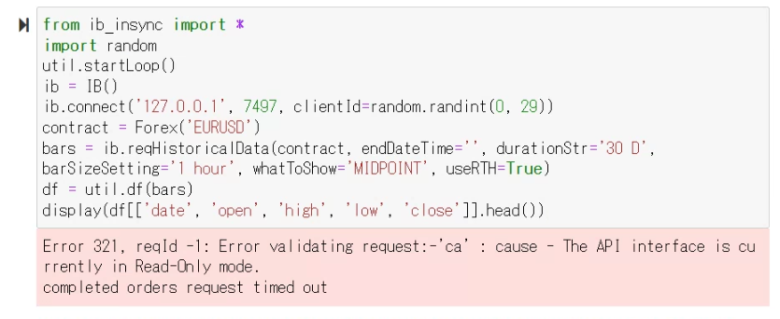
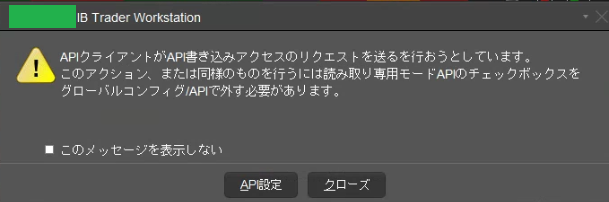
今回の例ではAPI接続ではリードオンリー(読み込みのみ)としていましたのでこのようなメッセージが出ますが、データ取得については問題ないので、「クローズ」を押します。
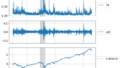
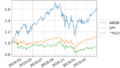
問題なければ以下のようなデータが取得できるはずです。
お役に立てましたでしょうか。
投資に関する免責事項
情報の提供・作業代行を目的としており、投資勧誘を目的とするものではありません。
—
IB証券関係、投資関係、Python関係の記事になります。


コメント